Growing up my mom was always canning – we made our own salsas, tomato sauce, applesauce, canned peaches and pears and even tuna (which made the house smell for weeks but with a little slice of jalapeno tasted amazing).
Recently the canning bug hit me.
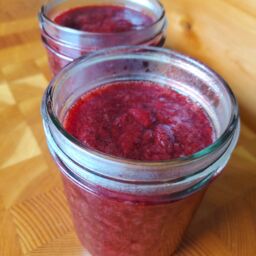
I’ve always canned my own applesauce (it is heaven, on earth) but now I’m stepping it up a notch – this summer I’ve canned peaches, cherries, strawberry jam, green beans and zucchini.
This water bath canning for peaches recipe can be applied to almost all fruits and some veggies (although pressure canning is recommended for low acid foods). We did pressure can some of these peaches, but found that to be unnecessary and that the peaches were perfect when water bath canned (and will be delish in MY PEACH COBBLER RECIPE all year long now).
What you’ll need:
- As many peaches as you can muster (or cherries or other fruit).
- A large canner for water bath and pressure canning (we have a 23-quart canner but you can find smaller ones as well) – you’ll want a funnel for pouring the fruit into jars, a utensil to put in and pull out the jars from the water, and a wire metal holder to go inside the canner so the jars don’t tip/crack. There is this all-in-one kit with everything you need too.
- Quart size mason jars with brand new rings and lids.
- Large dutch oven pot for cooking the fruit.
Step one: Sanitize the mason jars and new rings and lids. Your dishwasher may have a sanitize function on it for this purpose and if so it may take a couple of hours for this, so investigate how your dishwasher works. If not, you can sanitize the jars by boiling them and the rings and lids in the pressure canner. You need only do this for roughly 11 minutes at a rolling boil. It is recommended to have the accoutrements for this – such as a magnetic lid catcher (you don’t want to try to dig those out with your fingers!) and a holder for the lids/rings. Whole canning kit can be found here.
Step two: Wash the fruit and slice it. I became a master after slicing over 75lbs of peaches. #goodlord
Initially I sliced them into smaller slices but that became pretty mushy during the cooking of the peaches. So by the end, I was slicing in huge chunks and placing in the dutch oven and that did far better. If you’re canning cherries – pro tip – get a cherry pitter. For goodness sake – I did one batch without it and my fingers were raw. The next batch I used the pitter and it was easy-breezy.
Step three: Fill the canner with water (no need for it to be alkaline water). Get the water in the canner going, as it takes many hot minutes for it to be at a rolling boil.
Step four: Put the sliced peaches in the dutch oven on medium heat. Pour 2 cups of alkaline water in with the peaches. Cover.
Step five: Let the peaches cook with the lid on for 20-25 minutes, checking on them and stirring occasionally.
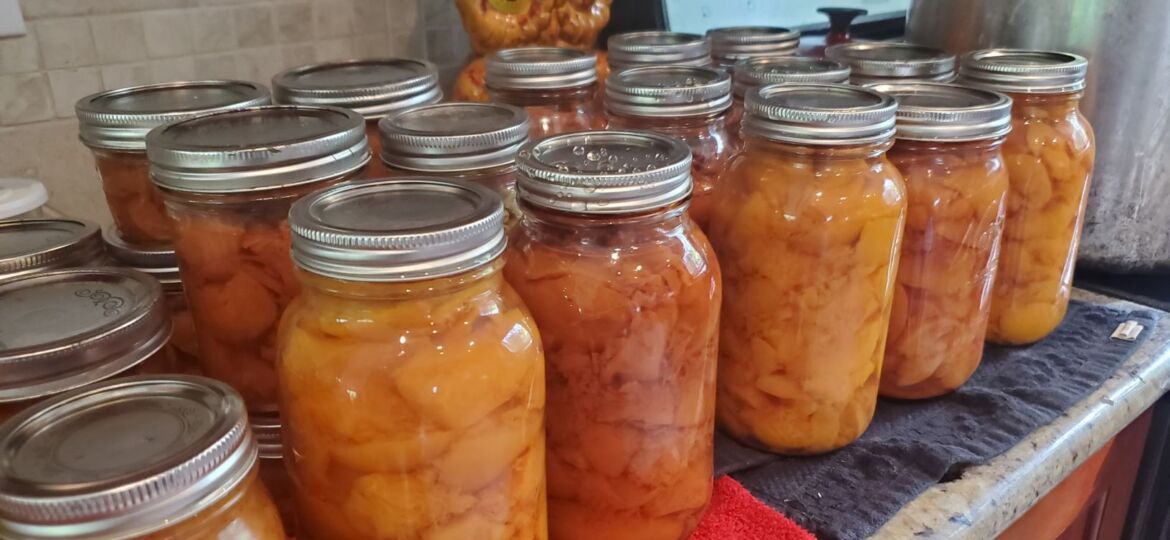
Step six: Once the peaches are soft and near falling apart, you can begin to pour them into the mason jars. Make sure you get the jars all the way full, almost to the very top of the jar. Wipe the mouth of the jar with a clean towel. Then, place the sanitized ring and lid on the jar. Do not overtighten, keep it somewhat loose here.
Step seven: Place the filled jars into the canner at a rolling boil. Set your timer for 11 minutes and cover the canner.
Step eight: Turn off the burner at 11 minutes and keep the jars within the canner until the water cools. Then, remove the jars. You may then wipe them down and tighten the lids. Use a permanent marker to write the date of when the fruit was canned on the lid. Most canned fruit is good for a year to two years.
And of course, be sure to bless the fruit from now until it’s eaten!
You can read our disclaimer and more here.