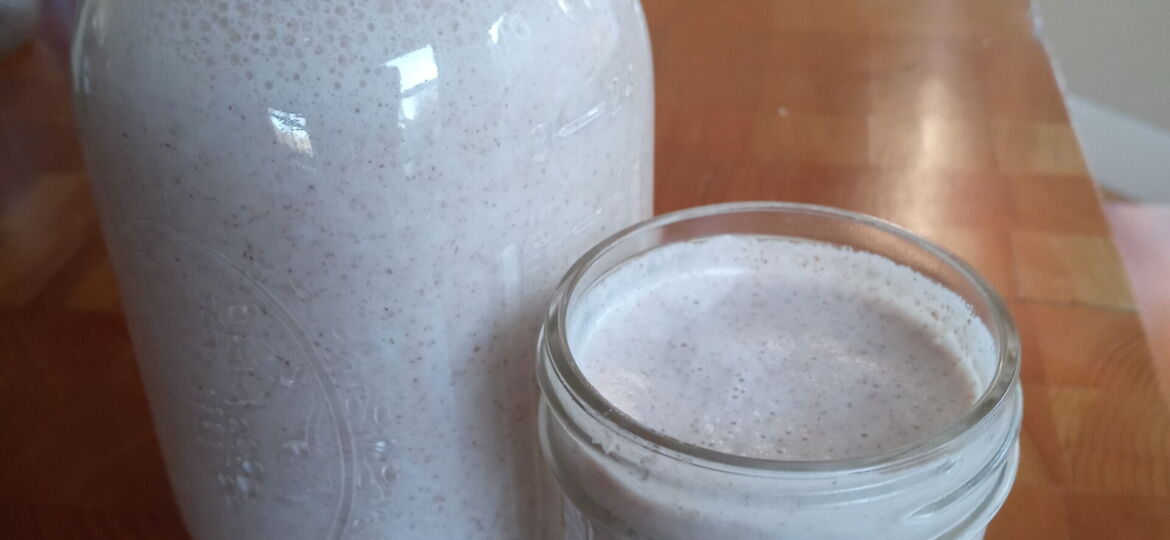
I’ve been dairy-free for over 20 years now. And so, for years I drank almond milk. Then, hemp milk. Then, organic almond milk.
Only to find that even my organic almond milk was loaded with added fillers and “vitamins” (made in a lab, not from whole, organic superfoods like what we get with Purium superfood nutrition).
I told myself that making my own plant-based, organic nut milk was going to be too big of a pain in the ass.
Then, the Almond Cow came on the scene – which basically allows you to plug in a device and nut milk is made for you.
But. I made a vow not buy any more electronic devices to plug into the grid, knowing the electrical power grid is not the healthiest for the Earth.
Thankfully, I discovered that I could make my own plant-based, organic nut milk using the electronics I already had and by bringing in a manual nut-milk strainer.
then I fell in love with making my own nut-milk, and found a combination that tastes amazing.
this is super easy and incredibly gratifying too.
Here’s the nut milk recipe I Love the most:
- 1/2 c organic raw, unsalted almonds (I prefer Food to Live raw, organic nuts)
- 1/2 c organic raw, unsalted cashews
- 4 c of alkaline water
- 1 t organic vanilla extract (optional)
- 6 organic dates, finely chopped (optional)
- 1 high-powered Blender (I use my VitaMix, which I’ve had for years and never once made nut milk with!)
- Chef’n Nut Milk maker (manual)
Step one: Place your nuts in a glass container and fill the container with alkaline water, just covering the top of the nuts. Cover the container and place in the refrigerator overnight.
Step two: The next day, drain the water from the glass container with nuts, and place the nuts in your blender.
Step three: Pour in 4 cups of fresh alkaline water into the blender with the nuts. Add vanilla extract and dates (cinnamon and nutmeg can be nice additions too!) if you want some additional flavor for your milk.
Step four: Blend on high for 2-4 minutes, and then 1 minute on turbo-speed (10 and High on the VitaMix). Blend until your blender looks like it’s filled with nut milk. 🙂
Step five: Pour your blender full of nut milk into the Chef’n Nut Milk maker for it to strain. I find it’s helpful to use a spoon to stir this at the top so that it strains thoroughly. This can take up to 20 minutes. I let it sit for a bit and come back and stir every 5 minutes or so.
Step six: Bless your nut milk, place it in the fridge and enjoy!
BONUS Step seven: The nut cream that’s left over from the strainer can be used to make frostings, serve as creamer for tea/coffee alternatives and be used in any recipe that calls for cashew cream or some kind of nut milk cream. I keep mine in mason jars and my husband uses it as his tea creamer!







[…] 2/3 c organic almond milk […]